Ladies, this recipe was included in previous Easter newsletters, but a subscriber and I haven't been able to locate it on the blog, so here is a great printable copy from Stacie Nelson. This recipe is also known as Easter Story Cookies.
April 3, 2012 by
April 3, 2012 by
Powered by WP Greet Box WordPress Plugin
I would suggest reading the Bible story of Jesus’ death and resurrection aloud to your children before you begin making these cookies. I particularly like the version in The Child’s Story Bible by Catherine Vos for older preschool and elementary-aged children.

Resurrection Cookie Recipe
Supplies:- 1 cup almonds (or pecans)
- 1 tsp. vinegar
- 3 egg whites
- Pinch of salt
- 1 cup sugar
- Zipper baggy
- Wooden spoon
- Mixing bowl
- Mixer
- Cookie sheet
- Spoons
- Tape
- Bible
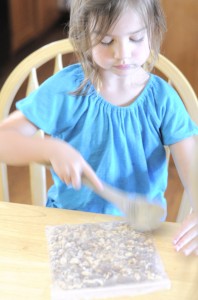
1) PREHEAT OVEN TO 300 DEGREES. Place one cup nuts into a baggy. Beat the nuts with a wooden spoon until broken into tiny pieces. Remind children Jesus was beaten by the Roman Soldiers.
Read John 19:1-3
1 Then Pilate took Jesus and had him flogged. 2 The soldiers twisted together a crown of thorns and put it on his head. They clothed him in a purple robe 3 and went up to him again and again, saying, “Hail, king of the Jews!” And they slapped him in the face.
I also included Isaiah 53:5:
But he was pierced for our transgressions, he was crushed for our iniquities; the punishment that brought us peace was on him, and by his wounds we are healed.
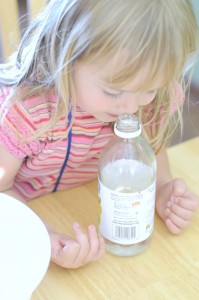
2) Allow each child to smell the vinegar. Pour a small amount into a bowl and allow them to taste it. Explain that vinegar was given to Jesus to drink when he was on the cross. Add 1 tsp. vinegar into a mixing bowl.
Read John 19:28-30
28 Later, knowing that everything had now been finished, and so that Scripture would be fulfilled, Jesus said, “I am thirsty.” 29 A jar of wine vinegar was there, so they soaked a sponge in it, put the sponge on a stalk of the hyssop plant, and lifted it to Jesus’ lips. 30 When he had received the drink, Jesus said, “It is finished.” With that, he bowed his head and gave up his spirit.
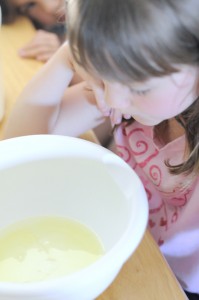
3) Add egg whites to vinegar. The eggs in this recipe represent life. They remind us that Jesus gave his life to give us life abundantly.
Read John 10:10-11
10 The thief comes only to steal and kill and destroy; I have come that they may have life, and have it to the full. 11 “I am the good shepherd. The good shepherd lays down his life for the sheep.
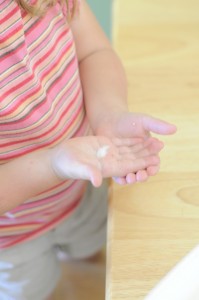
4) Put a pinch of salt in your child’s hand. Allow them to taste it. Add a pinch of salt to to the eggs and vinegar. The salt represents the salty tears cried by the women who followed Jesus.
Read Luke 23:27
27 A large number of people followed him, including women who mourned and wailed for him
5) Place a pinch of sugar in your child’s hand. Allow them to taste it. Add one cup sugar to the mixture. Up to this point, the ingredients have been very bitter, but the sweetness in the recipe comes from the sugar. The suffering and death of Jesus are bitter, but the sweetness is that Jesus died because He loves us. Oh, how He loves us!

6) Beat the mixture for 12-15 minutes until stiff peaks are formed (I recommend setting a timer — it’s important to beat the mixture well). The whiteness of the mixture reminds us of purity and the cleansing of our sins because of Jesus’ death.
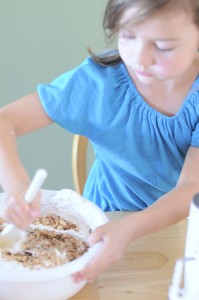
7) Stir in the nuts.

8) Drop the dough by spoonfuls onto a cookie sheet. The mounds represent the tomb where Jesus was buried.
Read Psalm 34:8
8 Taste and see that the LORD is good; blessed is the one who takes refuge in him.
Read John 3:16
16 For God so loved the world that he gave his one and only Son, that whoever believes in him shall not perish but have eternal life.

6) Beat the mixture for 12-15 minutes until stiff peaks are formed (I recommend setting a timer — it’s important to beat the mixture well). The whiteness of the mixture reminds us of purity and the cleansing of our sins because of Jesus’ death.
Read Isaiah 1:18:
18 “Come now, let us settle the matter,”
says the LORD.
“Though your sins are like scarlet,
they shall be as white as snow;
though they are red as crimson,
they shall be like wool.

7) Stir in the nuts.

8) Drop the dough by spoonfuls onto a cookie sheet. The mounds represent the tomb where Jesus was buried.
9) After the oven is preheated, put the cookie sheets in the oven. TURN OFF the oven. Allow your child to place pieces of tape and “seal” the oven door. Jesus’ tomb was sealed with a large rock.Read Matthew 27:57-60
57 As evening approached, there came a rich man from Arimathea, named Joseph, who had himself become a disciple of Jesus. 58 Going to Pilate, he asked for Jesus’ body, and Pilate ordered that it be given to him. 59 Joseph took the body, wrapped it in a clean linen cloth, 60 and placed it in his own new tomb that he had cut out of the rock. He rolled a big stone in front of the entrance to the tomb and went away.
10) Leave the cookies in the oven overnight. Your child might feel sad to leave the cookies in the oven overnight (they were probably expecting to have a yummy treat soon – at least mine were). Jesus’ followers were very sad when the tomb was sealed.Reread Matthew 27:59
59 Joseph took the body, wrapped it in a clean linen cloth, 60 and placed it in his own new tomb that he had cut out of the rock. He rolled a big stone in front of the entrance to the tomb and went away.
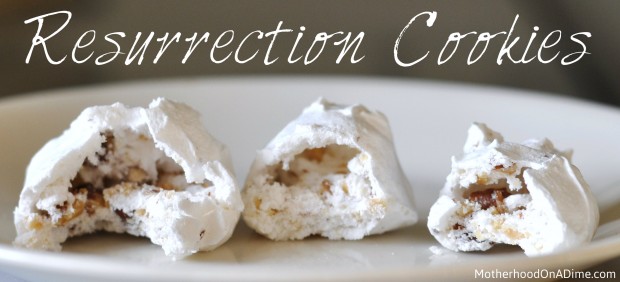
11) In the morning, open the oven and have some cookies! The cookies should be hollow inside. Remind your child that the tomb was empty. Jesus is risen!John 16:20-22
20 Very truly I tell you, you will weep and mourn while the world rejoices. You will grieve, but your grief will turn to joy.21 A woman giving birth to a child has pain because her time has come; but when her baby is born she forgets the anguish because of her joy that a child is born into the world.22 So with you: Now is your time of grief, but I will see you again and you will rejoice, and no one will take away your joy.
Although these are personally not my favorite cookies (two of my girls loved them — one did not!), they are a great way to learn about the crucifixion and resurrection in a hands-on way for kids. If you would like these directions in a printable form, please feel free to download the sheets I’ve put together with the Resurrection Cookies Recipe.Read Matthew 28:1-9
1After the Sabbath, at dawn on the first day of the week, Mary Magdalene and the other Mary went to look at the tomb.
2 There was a violent earthquake, for an angel of the Lord came down from heaven and, going to the tomb, rolled back the stone and sat on it. 3 His appearance was like lightning, and his clothes were white as snow. 4 The guards were so afraid of him that they shook and became like dead men.
5 The angel said to the women, “Do not be afraid, for I know that you are looking for Jesus, who was crucified. 6 He is not here; he has risen, just as he said. Come and see the place where he lay. 7 Then go quickly and tell his disciples: ‘He has risen from the dead and is going ahead of you into Galilee. There you will see him.’ Now I have told you.”
8 So the women hurried away from the tomb, afraid yet filled with joy, and ran to tell his disciples. 9 Suddenly Jesus met them. “Greetings,” he said. They came to him, clasped his feet and worshiped him.
**I am unable to locate an original source for this recipe. If you know the original creator of this Easter cookie recipe, please send me an email so I can give proper credit! All Scripture references are taken from the NIV translation.
———————————————————————–
Looking for more simple ideas for kids? Consider signing up for my Motherhood on a Dime KIDS newsletter. You’ll receive 2-3 kid-friendly activities each week via email.

No comments:
Post a Comment